5 minutes

Introduction
Welcome to the first Foundations Course.
It's a fairly quick course but we'll write all the code we need for an ECS framework for building Babylon.js Web games.
It's such a small framework, we'll write it all in the next few articles, a handful of files in one folder will give us a lot of the flexibility that other game programming tutorials skip.
The web is full of starter tutorials. The web has barely any intermediate and advanced tutorials in comparison. That intermediate and advanced knowledge is missing in my experience of learning game programming and especially missing in the language of Typescript and Javascript.
We're going to fix that. The ECS specific code we're going to write will be a small fraction of the overall game code, but it will help to organize our game-code so the project scales more linearly than a the plain Object-Oriented approach. We'll start with the basics and build up to more complex concepts as we go.
Also, with a common foundation, we can get into more advanced topics without repeating ourselves.
Setting up the bare project in Vite
Vite Typescript Project
Once you have a Typescript environment like node and npm installed, you're ready to create a new base project from the template. This mostly just saves the time of configuration and should reveal some best practices from the maintainers.
You'll need to install create-vite. It'll use the latest version of the typescript template. We'll be using typescript throughout.
Install Babylon.js Core and File Loaders
Now let's get into the project.
Run the Vite Dev Server
For now, you can run your project to make sure we're starting from a good place.
Head to http://localhost:5173 in your browser or press o + enter to do so from the terminal.
Remove boilerplate files we don't need:
Now say goodbye to all that stuff.
Vite Configuration
Add a vite.config.ts file to your project root.
We're going to set a few basics in the config file.
More information on vite configuration
We're in the browser so we should update the index.html in the root of the project to with the minimum to get a <canvas> element styled to fill the screen.
A New index.html
Replace src/index.html with this code.
Main module
This main.ts file serves as the primary file that is run for our Babylon.js game. It handles the initialization of the Babylon.js engine, sets up the game world, and manages the game loop. In other words, it calls a lot of stuff we haven't built yet.
Now if we type in the location bar, we will come up with different game and level values depending on what we type.
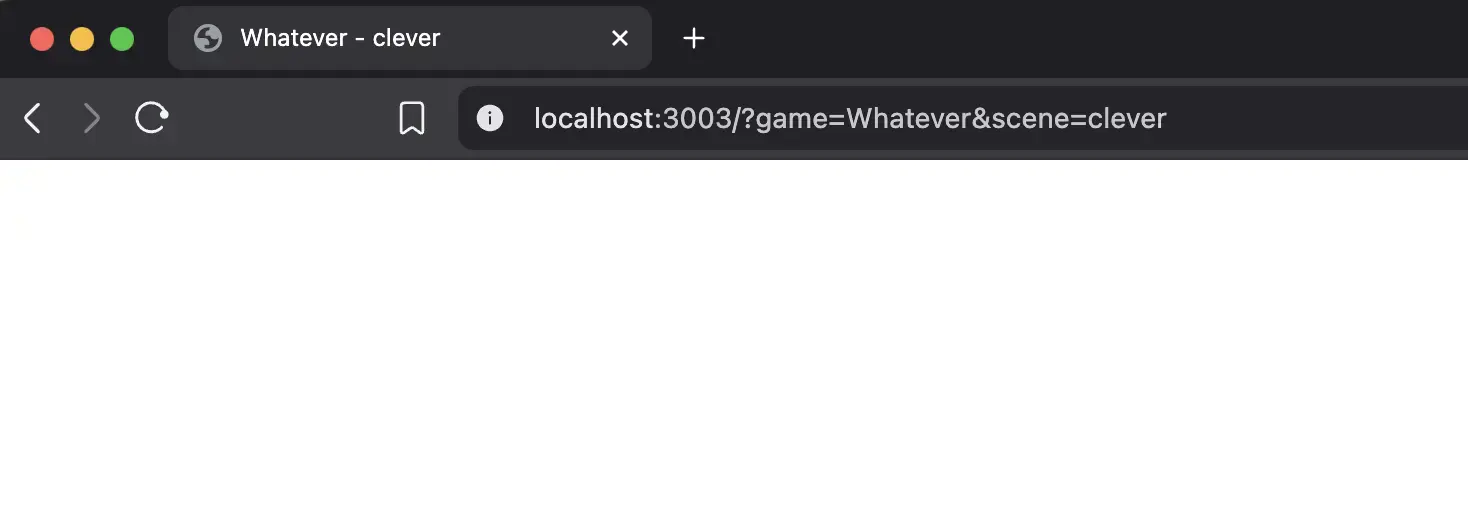
We'll use this to quickly create new levels and whole seperate games with seperate code and data. The point is, all games have this one entry point.
Design Constraints
It's probably useful to quickly go over some coding design goals I have for this project. We're setting things up using ECS as a guide. When approaching ECS projects, certain assumptions should be baked into the code for better understandability, especially on a team.

Pretty much the reason to use ECS or any design pattern is to be consistent from coding session to session or teammate to teammate. Everyone wants to write code that everyone else intutively can follow. To do so we set up some ground rules.
-
We're going to put whatever data we can in the
data/folders with subfolders for each game and inside those individual scene files containing all the data to run the level. -
The data in those files will be in JSON format. It's format is simple, with an entities object containing a components object. The entity name will be the unique key. For example:
-
For every Component class holding data there should be a similarly named System class in the same file. So the system knows what code to load based only on the components used in this scene. So in the above example,
MeshSystemandMeshComponentshould live in the same file insrc/components/Mesh.ts -
Every system should be able to read from other Components, but should only write data to ones own Component. I'm not using any kind of event system for this framework, so reading from a Component is a dependency on that Component having those properties.